Connect WhatsApp & get your API key
Your device. Your QR code. Your API.
Connect a linked WhatsApp device and prepare your integration.
From QR code to API.
Six short steps through the actual WASMS interface. English on-screen captions, a full transcript and demonstration data. No narration.
1 minute · English captionsDemonstration screens use fictional data and a QR placeholder. Generate your private QR code inside your own account. No messages were sent.
English transcript & chapters
Sign in to WASMS. Open WhatsApp, then Device Managements. Select Add Account. Your plan needs an available server and a device allowance.
Choose an available server, then select Link Account. Keep the linking window open. If the QR code expires, restart the flow to get a fresh code.
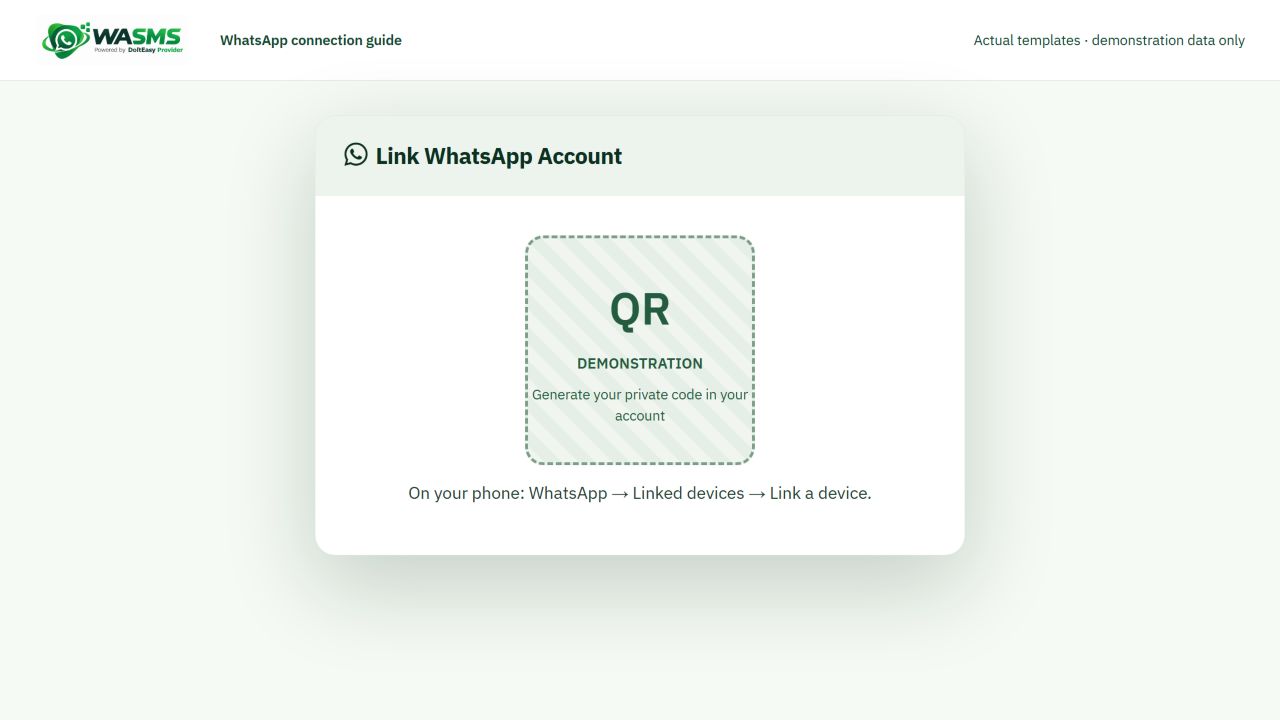
In WhatsApp, open Linked devices, then Link a device. On iPhone, start in Settings. Unlock your phone and scan your own account QR code. This panel is a placeholder.
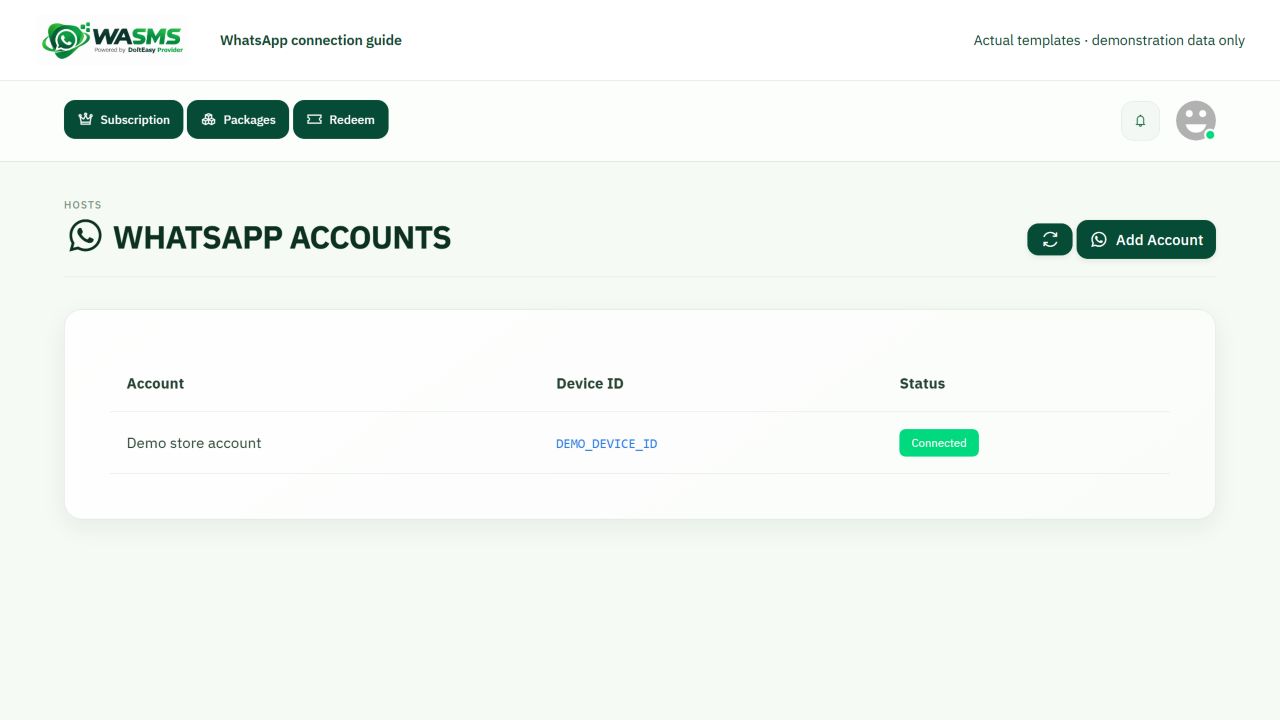
Return to Device Managements and refresh. Confirm your account is connected, then copy its device or account ID. DEMO_DEVICE_ID is a fictional example.
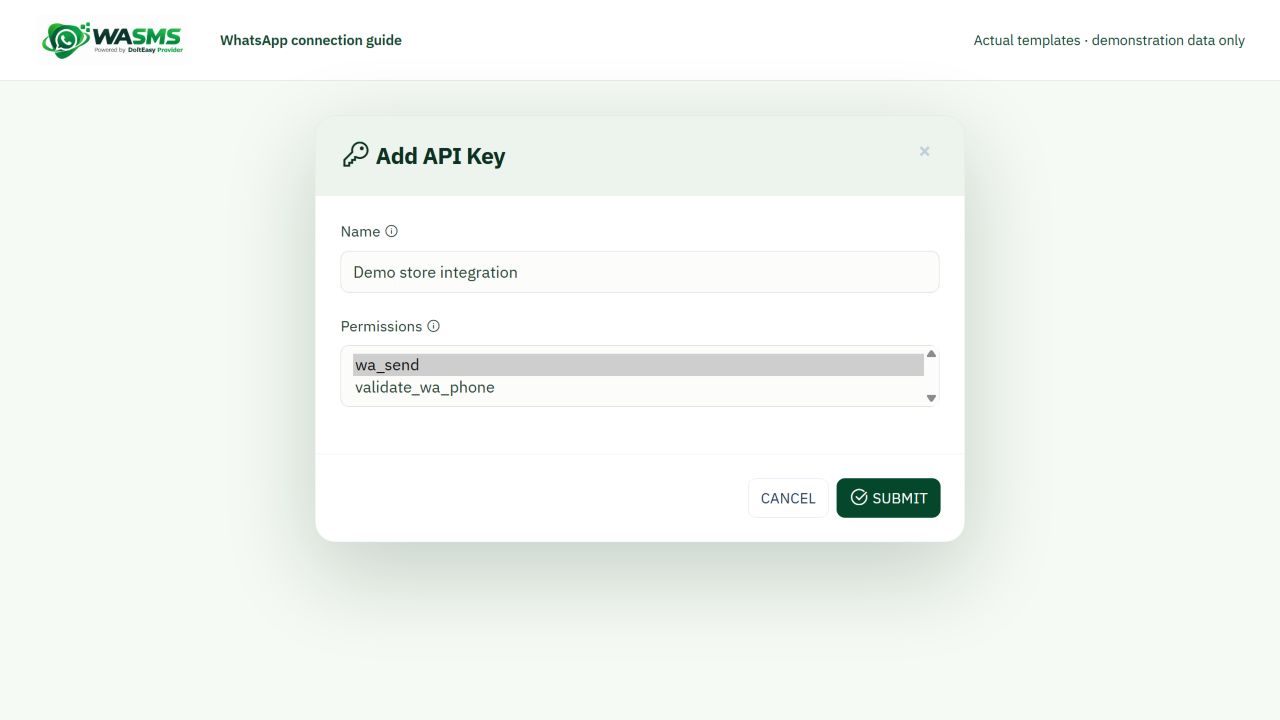
Open API Keys in System Settings. Add a named key with wa_send. Add validate_wa_phone only for number checks. Remove other permissions you do not need.
Save your private API key and connected device ID in the plugin Connection settings. Keep test mode on while checking configuration. No messages were sent in this guide.
01Open Device Managements+
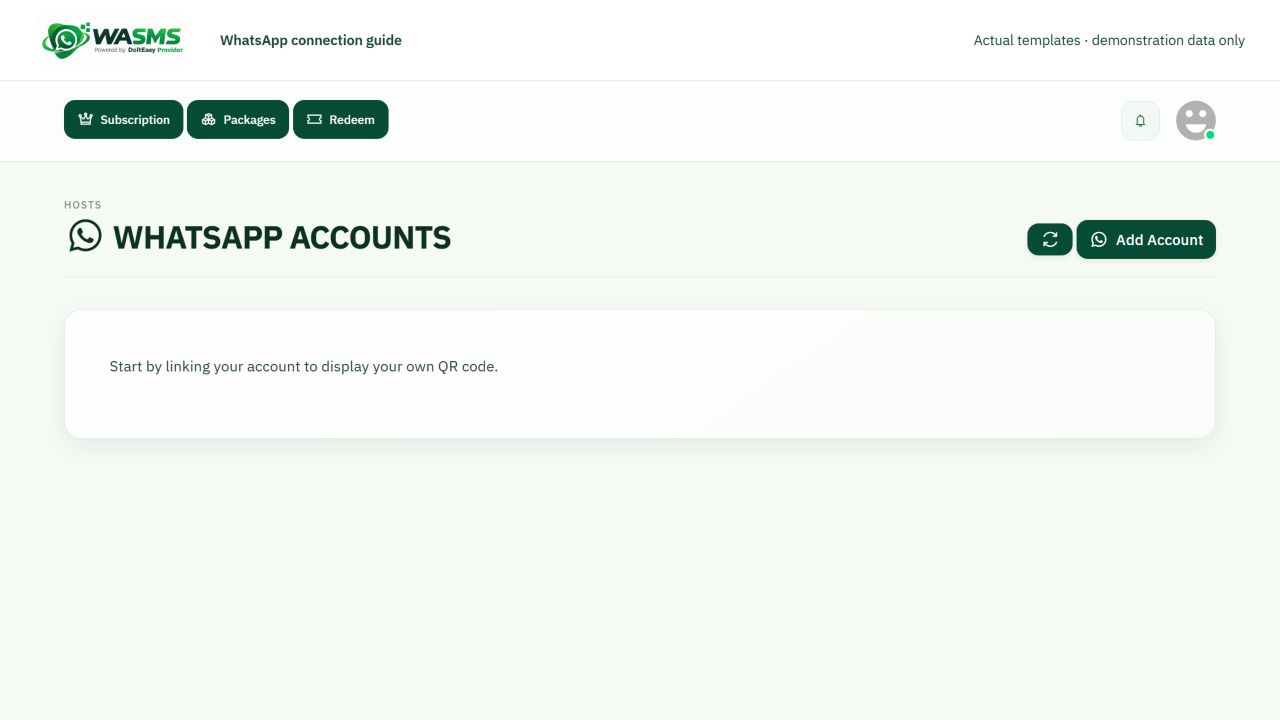
Sign in to your WASMS workspace. Expand WhatsApp and open Device Managements. Select Add Account. Your plan must include a connected-device allowance and an available WhatsApp server. If no server appears, ask support to check your plan and server access.
Open Device Managements
02Display your QR code+
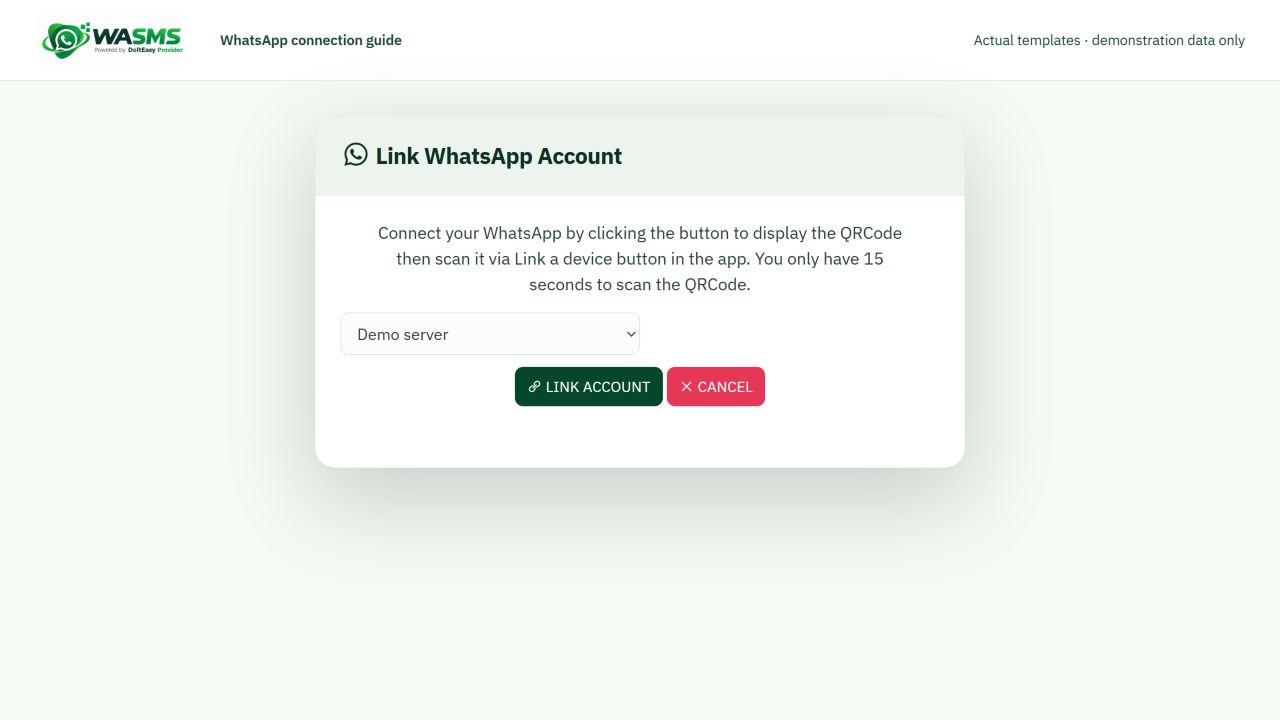
In the Add Account window, choose an available server and select Link Account. A temporary QR code appears with a countdown. Keep that window open while you scan. If it expires, use Continue and start the linking flow again to get a fresh code. The striped QR panel in this guide is an illustration, not a pairing code.
Choose a server and link the account
03Scan from WhatsApp on your phone+
Use your primary phone. On Android, open WhatsApp → the three-dot menu → Linked devices → Link a device. On iPhone, open WhatsApp → Settings → Linked Devices → Link a Device. Complete the phone unlock prompt if shown, then scan the QR code displayed in your own WASMS account. Do not use the phone camera app or the contact QR scanner.
Scan your own QR code
04Confirm the connection and device ID+
Return to Device Managements, close the linking window and refresh the accounts list. Check that your account is connected and copy its device/account identifier for your integration. The DEMO_DEVICE_ID shown in the screenshot is a placeholder. If the account is disconnected, relink it from this page. QR linking connects your sender; it does not create a WASMS API key or a Meta Cloud API token.
Confirm the connected account
05Create your WASMS API key+
Open API Keys from System Settings, or use the API Keys link below. Select Add Key and give it a name such as My store integration. Select wa_send for sending WhatsApp messages; add validate_wa_phone only if you will use registration checks. Remove permissions you do not need, including any preselected SMS permissions. Submit, then copy your generated key from the key list. Store it in your private server-side integration settings. Never put it in public JavaScript, screenshots, browser URLs or support messages.
Create a key with only the permissions you need
06Connect your module and make a controlled test+
In your plugin Connection settings, enter your WASMS service address, API key and connected device/account ID. Keep messaging disabled and test mode enabled while checking configuration and templates. A preview or dry run must not deliver a message. When ready, enable only the event you need and test with one number you control whose owner agreed to receive it. Review the request log and confirm receipt on the phone; an accepted API request alone is not proof of delivery. Normal plan limits and usage charges apply. Meta Cloud API is a separate connection with its own credentials and is not configured by scanning this QR code.
Official WhatsApp phone-linking instructions