WASMS · PrestaShop
Install. Connect. Make it yours.
Your PrestaShop installation and use guide.
A guided look inside.
Six short steps through the actual WASMS interface. English on-screen captions, a full transcript and demonstration data. No narration.
1 minute · English captionsShared plugin screens vary by platform. Native installation steps remain in the written guide. No messages were sent while creating this walkthrough.
English transcript & chapters
Upload the archive in PrestaShop Module Manager. Install Doiteasy WASMS, choose the intended shop context, then select Configure.
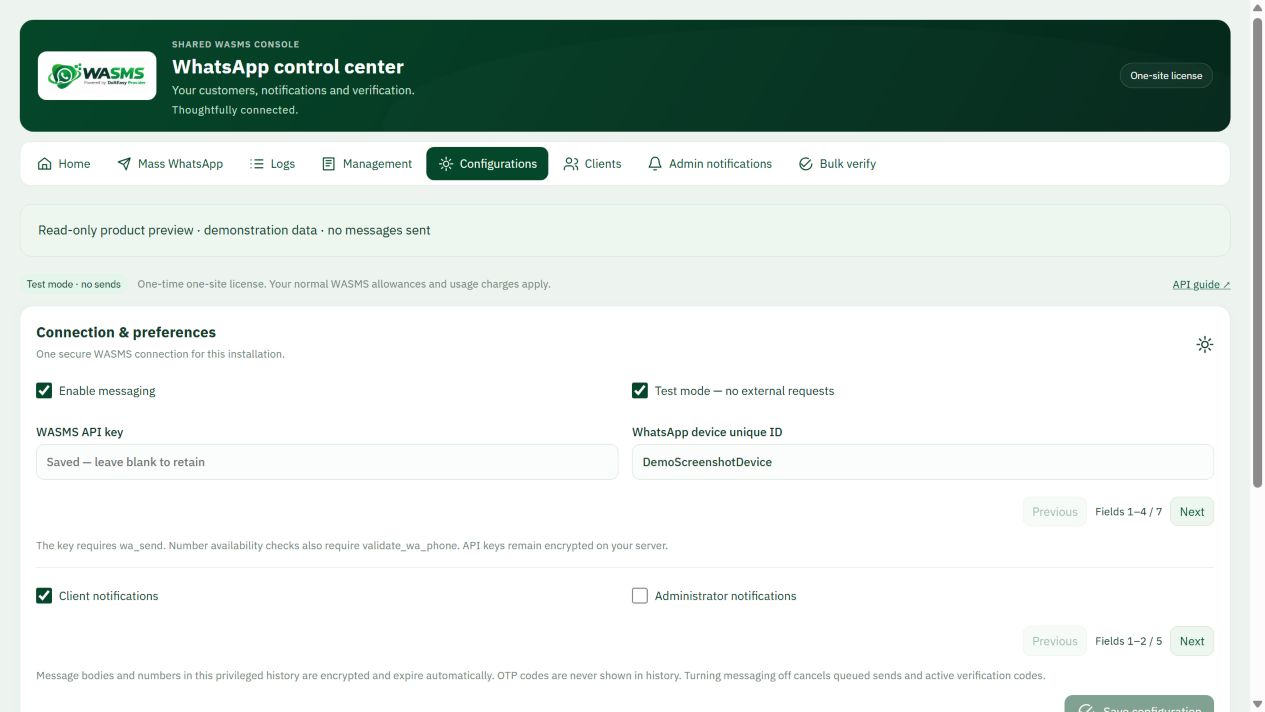
Enter your own WASMS API key and WhatsApp device ID in Configurations. Keep test mode enabled during setup. Normal WASMS plan limits and usage charges apply.
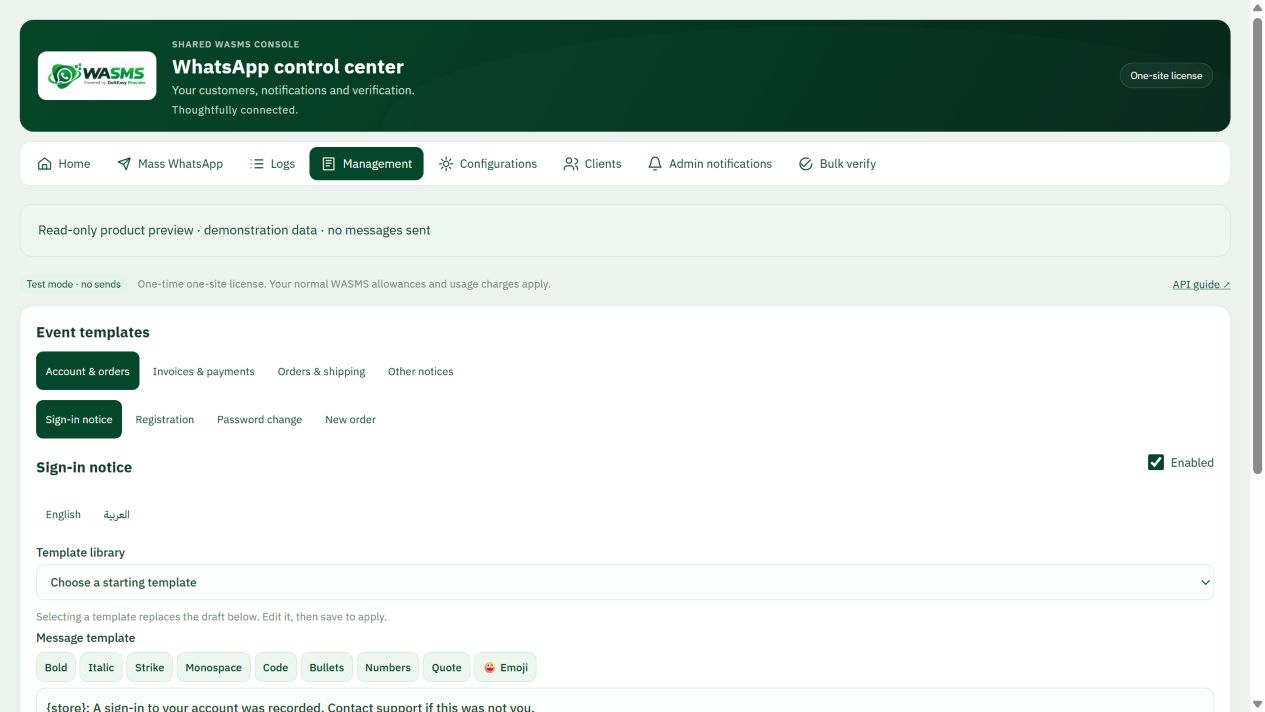
Open Management, select one supported event and edit its English or Arabic template. Confirm the supported merge fields before enabling notifications.
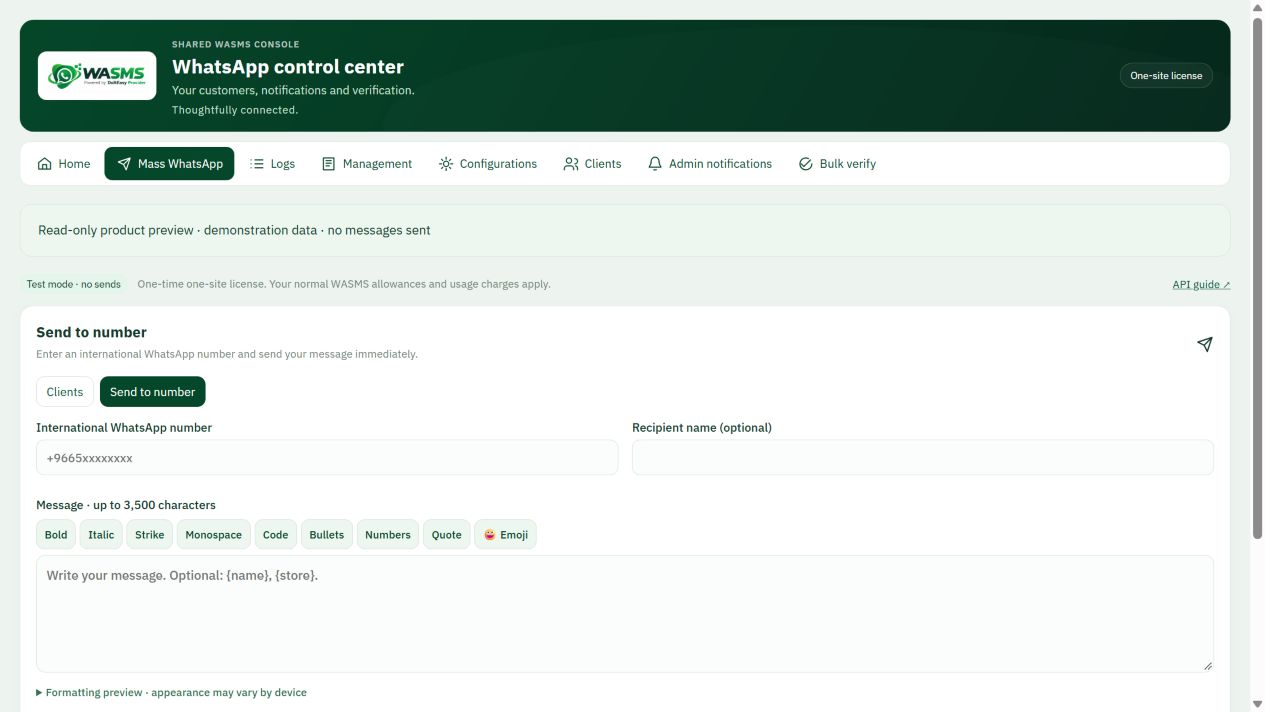
Open the composer and inspect the recipient and message preview. Screens use fictional demonstration data; no real messages are sent in this walkthrough.
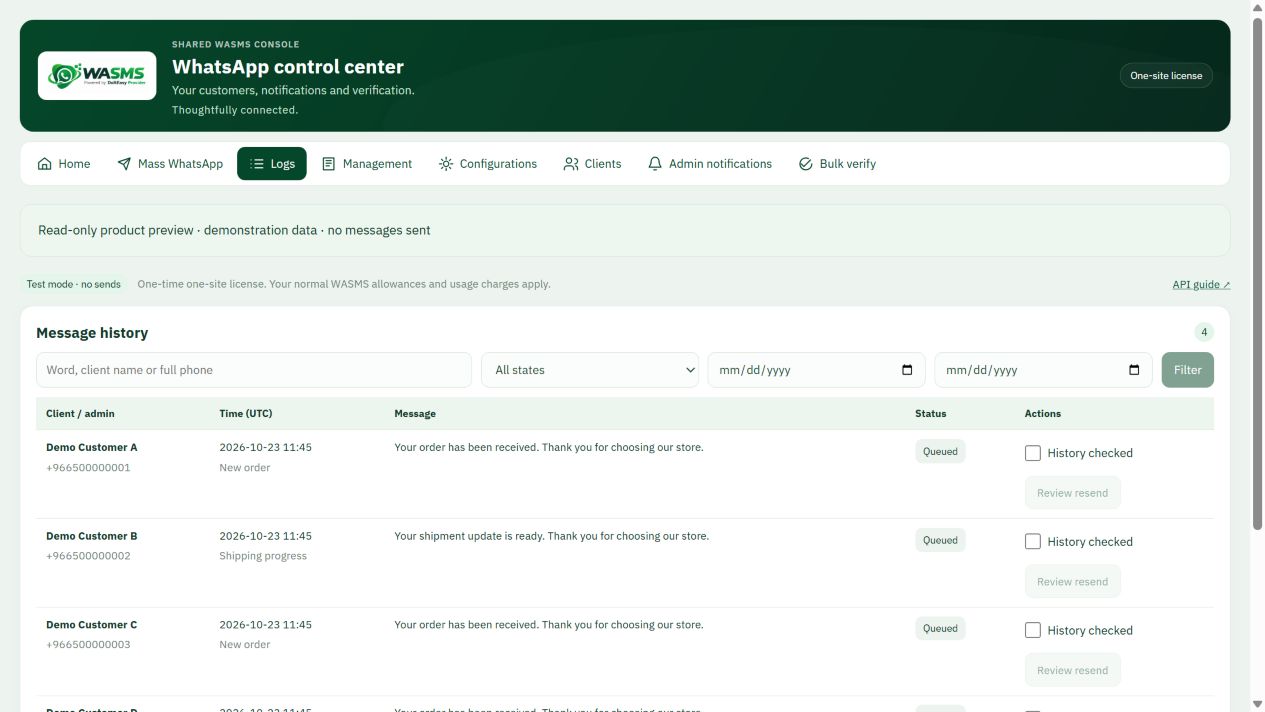
Use Logs to inspect pending, accepted and failed requests. Accepted is not proof of phone delivery. Investigate an unknown outcome before retrying.
Follow the written guide for license activation and your platform worker. Native CMS installation and a controlled delivery test are still required before live use.
01Before you install+
The package declares PrestaShop 8.2+ / 9.x; the shared code requires PHP 8.1+. The exact shop/PHP combination still needs native testing. A declared range is not certification.
Your shared control center
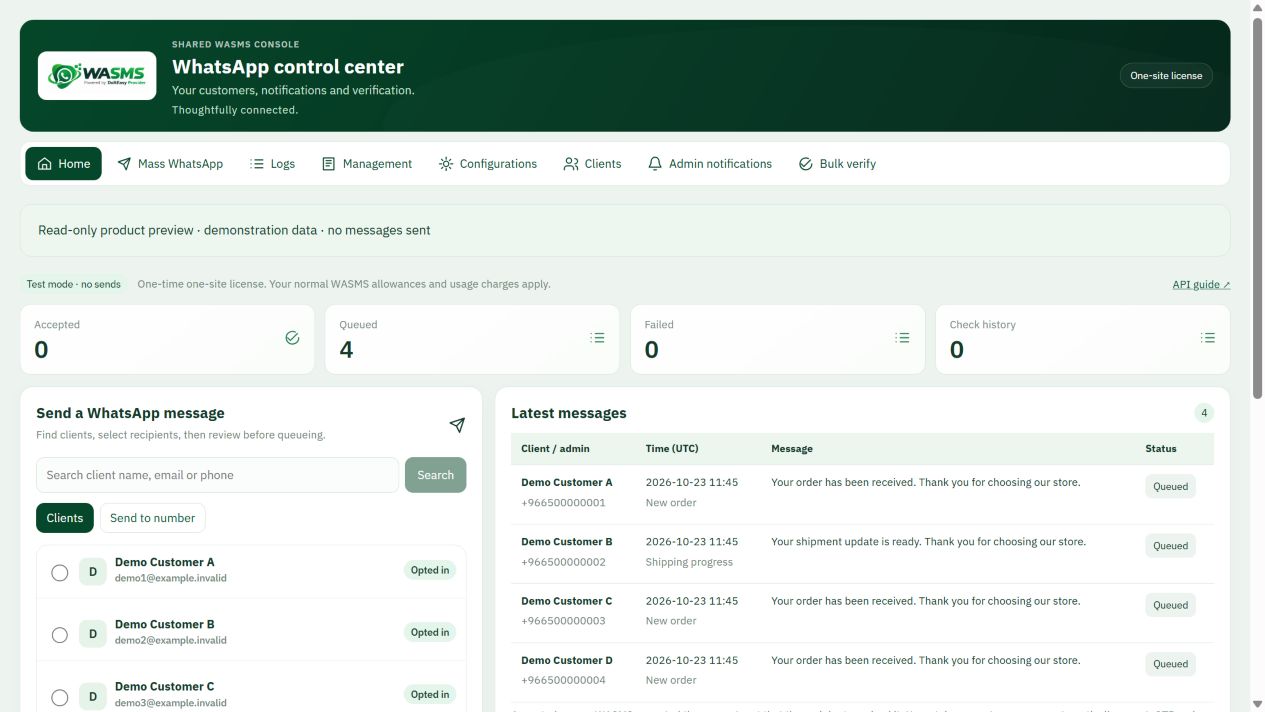
02Install & open your product+
Module Manager → Upload a module: upload the ZIP containing doiteasywasms/, install, then Configure. Grant the employee role permission to edit modules. Select the intended shop context before configuring WASMS; each shop has separate settings and activation.
03Scheduled sending & reminders+
A private scheduler must POST every minute to the shop module work route, normally index.php?fc=module&module=doiteasywasms&controller=work, with Authorization: Bearer and the configured WASMS API key. Use the shop HTTPS base URL, preserve multishop context, keep the header in protected configuration and check the worker heartbeat.
04What to configure & test+
Order creation/status, payment confirmation, saved carrier tracking, account registration/update and phone verification. The carrier tracking URL must use HTTPS. Each shop is isolated.
Choose an event template
05Activation & connection+
Open WASMS → My licenses, select this product and download the matching archive. Enter its activation code in the plugin License section; the configured site URL is its one-site identity. In Connection save your own WASMS API key and connected WhatsApp device ID. Keep messaging disabled and test mode enabled until configuration is checked. Sending requires wa_send; number registration checks require validate_wa_phone. Normal WASMS plan limits and usage charges apply.
Connection and test mode
06Cloud API & Copy code (optional)+
For supported OTP flows, open WASMS account → Cloud API and enter your own Meta access token, WhatsApp Business Account ID, phone number ID and approved AUTHENTICATION / COPY_CODE template for the intended language. Verify that profile, then select Cloud API for OTP delivery in plugin Connection settings. A linked device alone cannot create the native Copy code card. Keep the existing sender until the Cloud profile is verified; this does not enable a native login factor on platforms that do not include one.
07First test & everyday use+
Start on a CMS test installation or a WASMS test workspace. Choose Arabic (RTL) or English (LTR), save one template and confirm its supported merge fields. Check permissions, license/entitlement and the worker heartbeat. Test mode should create no real delivery. When ready, use one recipient you control who has agreed to receive the test. Enable only the needed event and confirm receipt on the phone. Check duplicate events, opt-out and failed credentials before expanding automation.
Preview a message before sending
08Troubleshooting & safe updates+
Queued: check the worker, PHP executable, permissions and connection. Accepted: the request was accepted, not proof of phone delivery. Unknown: inspect the original request before retrying. For license errors check the product and canonical site URL. Before updates back up files/database and preserve private configuration and encryption secrets. Disable messaging and pause the worker before rollback; restore the matching files and database together. Do not erase customer data during a routine update. Send support the platform/PHP version and a redacted error, never API keys or OTPs.
Read delivery states correctly